Battery Saver Relay – Everything You Need To Know
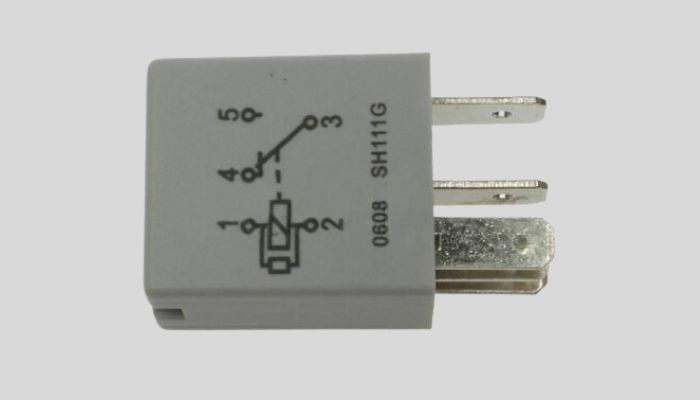
The battery saver relay is, in fact, a relay that opens its contacts when the ignition switch is switched off for around 30-45 minutes. It switches off the courtesy lights. Once the driver’s door is opened or unlocked, it will be re-energized.
What does the Battery Saver Relay do?
The Generic Electronic Module is in charge of the Battery Saver Relay. After around a 10-minute delay with the key turned off, it turns off any courtesy lights that have been left on by accident. As a result, the relay coil is only powered for 10 minutes after the key is turned off.
The BSR is located under the dash to the right of the steering column in Aux Relay Box #1, a rectangular black box with a snap off top.
The courtesy light countdown timer begins after the key is turned off. When the GEM commands the courtesy light circuit to operate, it also resets and starts over. The GEM is triggered by activity at the door switch or Remote Keyless Entry to repower the Battery Saver Relay, allowing for 10 minutes of courtesy lights on entry before starting the engine.
How To Test Battery Saver Relay
Step-1
To begin, disconnect the battery at the negative terminal and connect the terminal to the battery post with the multimeter. During the test, make sure the terminal and the post don’t come into contact.
Set the multimeter to amperage reading and wait for the modules to cool down for roughly 30 minutes. After waiting for half an hour, you should observe a reading of less than.025 amps. Something even more than that would be unacceptably high and shows the presence of a parasitic drain, which you appear to have.
Step-2
The next step is to pull the fuses one by one, while watching the multimeter for your number to drop. You must then hunt that circuit for a draw of some type after pulling a fuse that reduces the number sufficiently.
Check for lights that are stuck on, such as the trunk light, that you might not notice on a regular basis if you remove the lighting fuse and it lowers.
How To Bypass Battery Saver Relay
Remove the ignition wire from the radio and splice in a diode. Diodes only allow electricity to go in one direction, so make sure you have one installed so that it only flows to the radio. After that, attach a wire to continuous power on the radio side of the diode.
Make sure there’s a constant-power switch on that line so your radio isn’t on all the time. Then, while you’re at the drive-in or waxing, just flip the switch to turn on the radio. No keys in the ignition required.


